Need to order checks? Go to www.ordermychecks.com.
There are 5 sections on a check that you must fill out. Printing is fine.
1 . The Date Field
Put today’s date, or the date you want the person to deposit the check.
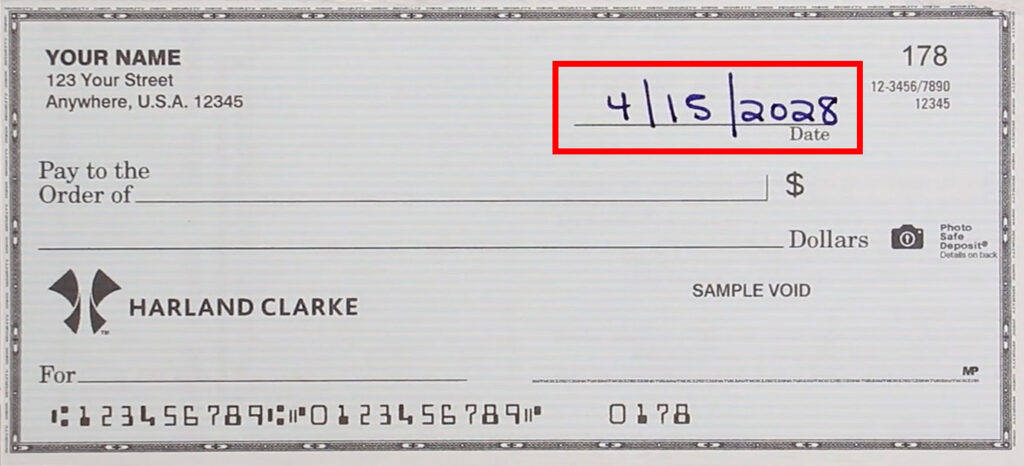
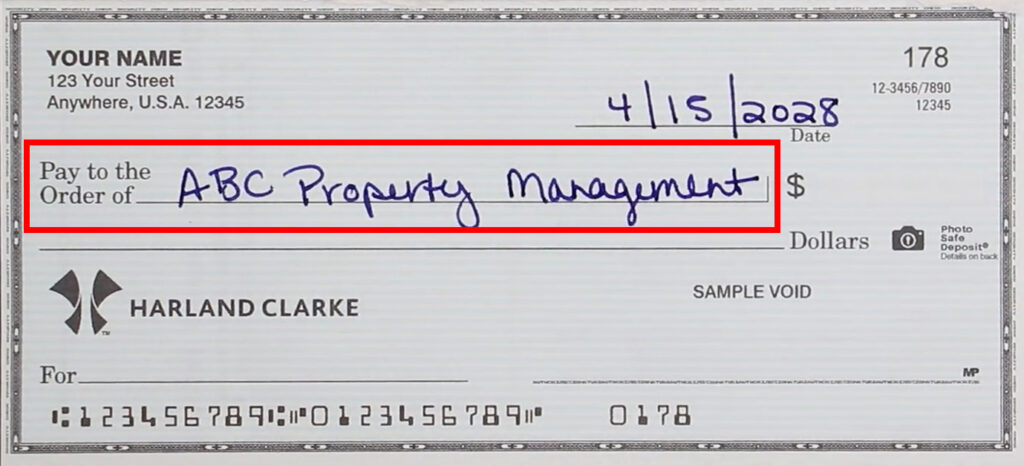
2. The Pay-To Line
Write the name of the person or company who will be receiving the check.
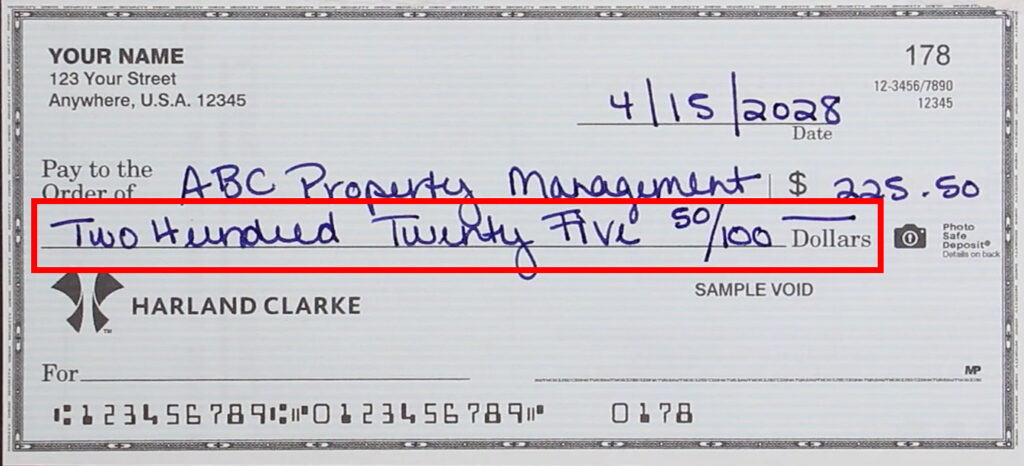
3. The Amount Box
Write the amount using numbers. Start at the left to keep someone from sneaking in a number up front.
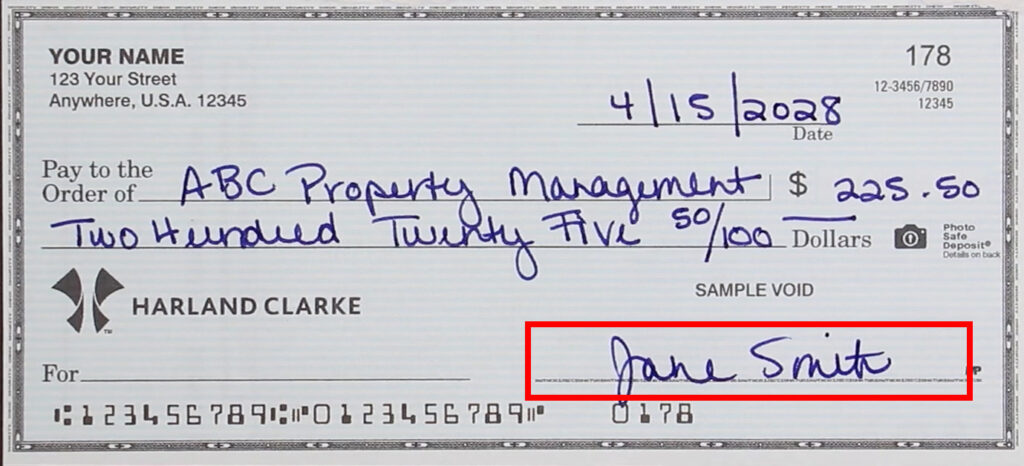
5. The Signature Line
Sign your name.
The Memo Line (sometimes called The “For” Line) is optional. Recording a note here can be good to know in the future or for tax records like giving to a charity.
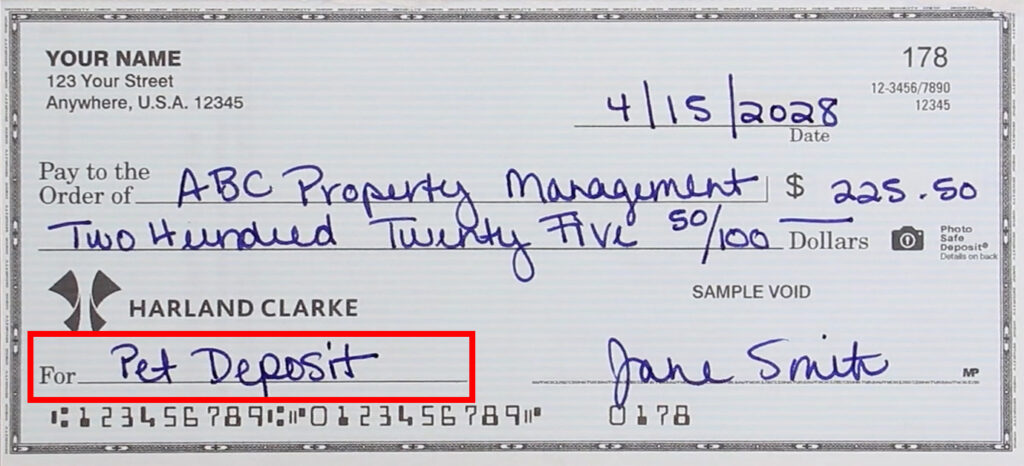
That’s it. You’ve written the check!
Now there’s just one thing left to do. Write the check number (found in the upper corner of the check), the date, the pay-to, and the amount in the check register. This helps keep a record of what you wrote in case someone loses the check or the wrong amount gets deposited. You also have the option of buying duplicate checks that will automatically make a copy of every check you write.

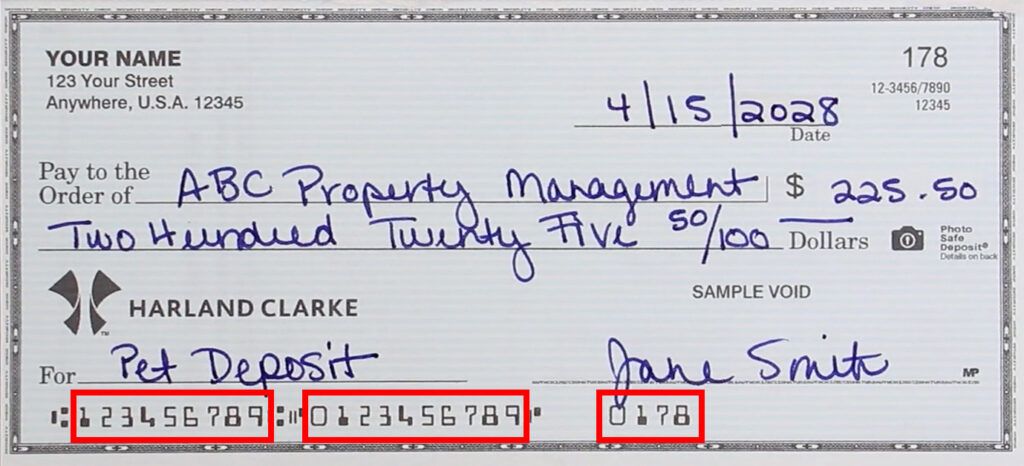
You’re all done! But, in case you were curious about those numbers at the bottom of the check – they are special magnetic ink characters with your financial institution’s number (called a routing transit), your account number, and the check number. They help make the check work.
Now that you know how to write a check, do you need to order checks? If so, go to www.ordermychecks.com.